Multi-Session Ticketing
Multi-Session ticketing is allowing attendees/donors/registrants to purchase tickets to multiple “sessions” of an event that can take place over the course of one or more days.
Multi-Session ticketing was designed for our members who put on multiple “shows” or “performances” for their organization, so some of the language is reflective of that style.
From the event’s Configuration tab, make sure you have selected Multi-Session as an activity of your event.
Important to note:
You cannot select Multi-Session ticketing if you have already selected Ticketing & Seating. A prompt will alert you if you try to. You must select one or the other.
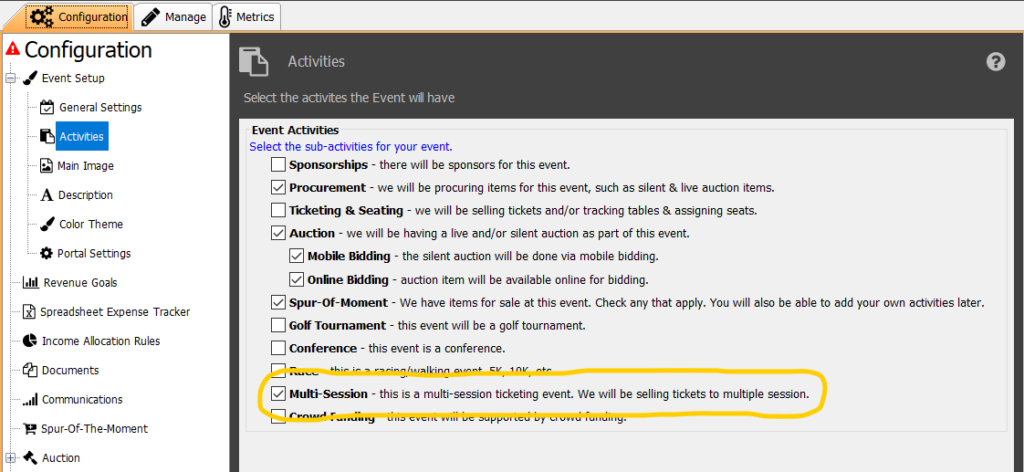
Your configuration options on the left sidebar will adjust accordingly. Scroll to the bottom to configure the sessions.
Multi-Session Hierarchy
There are three levels to Multi-Sessions within Compass-360: Date, Time, and Ticket. First, you’ll configure the various dates for your event, followed by the times for each day’s event. Finally, you’ll configure the various types of tickets for each time.
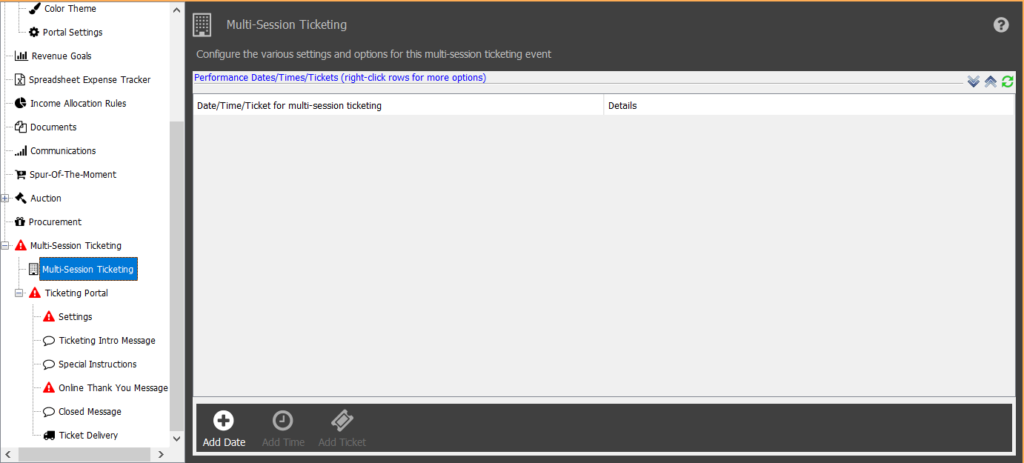
From the bottom bar, you’ll see options to add dates, time and tickets. The Add Date will be the only option available at first. The Add Time will automatically enable once a date is set, and the Add Ticket will enable once a time is set.
You’ll be able to copy and paste both a configured session and ticket to another date and time, saving you from having to configure both for each individual date.
Configuring
To begin, select Add Date from the bottom bar to open the date configuration.
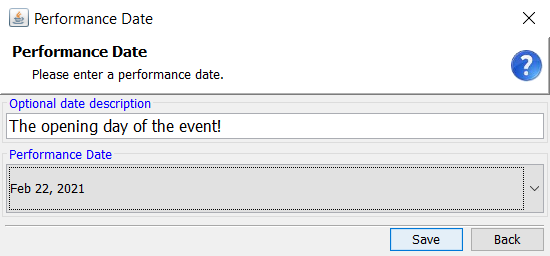
Select the first date from the Performance Date field.
Above it, you’ll also see the ‘Optional date description.’ This a customizable field which will appear underneath the date on the ticketing portal. Once you have entered at least the date, select Save.
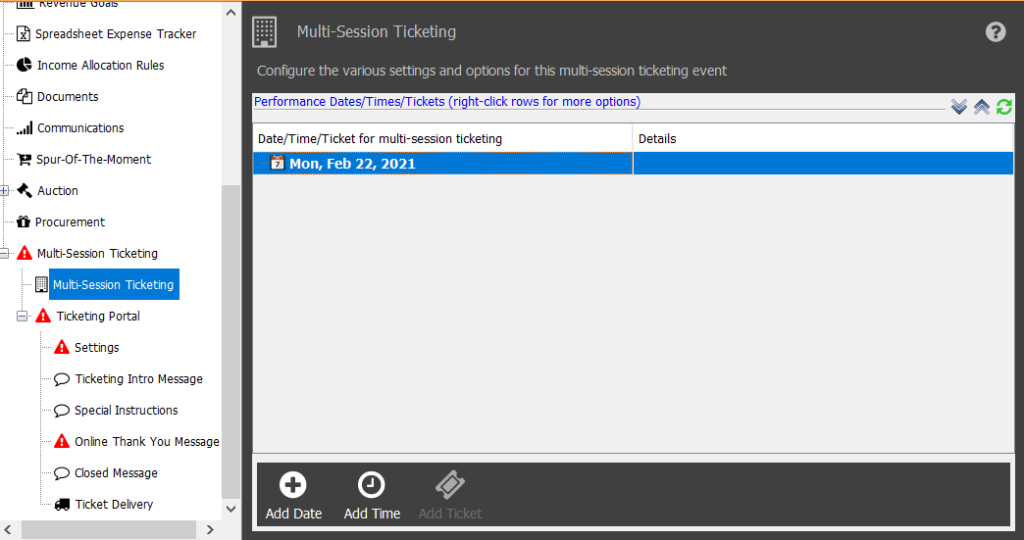
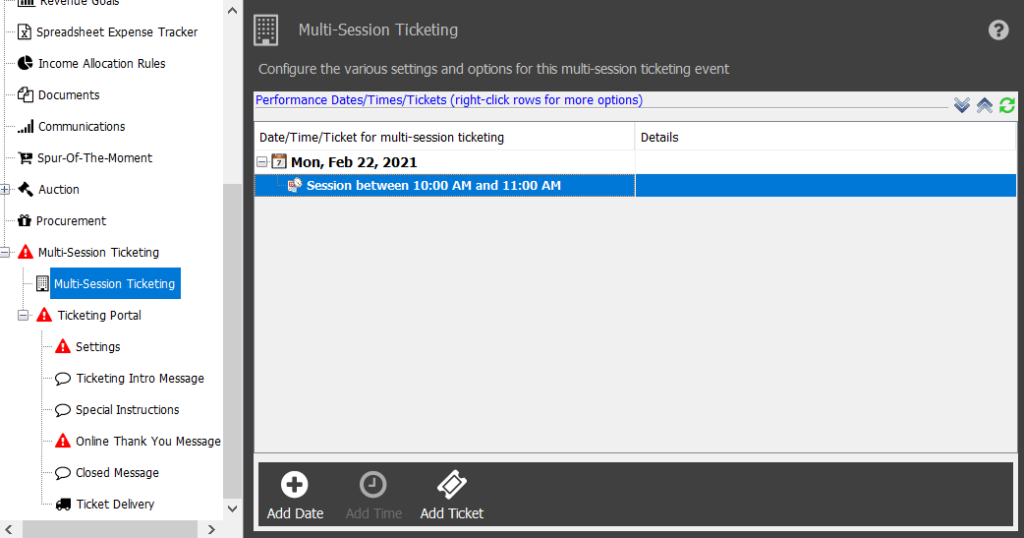
Now, the configured date will appear and when you select it, the option to Add Time from the bottom bar will be enabled.
Select Add Time to open the time configuration.
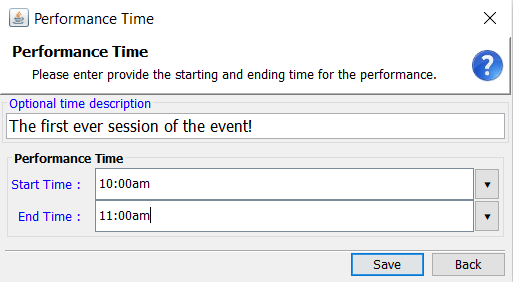
Select the first time from the Performance Time field.
Like configuring a date, above it you’ll also see the ‘Optional time description.’ This a customizable field which will appear underneath the time on the ticketing portal. Once you have entered at least the date, select Save.
Now, the configured time will appear underneath the configured date, and when you select it, the option to Add Ticket from the bottom bar will be enabled.
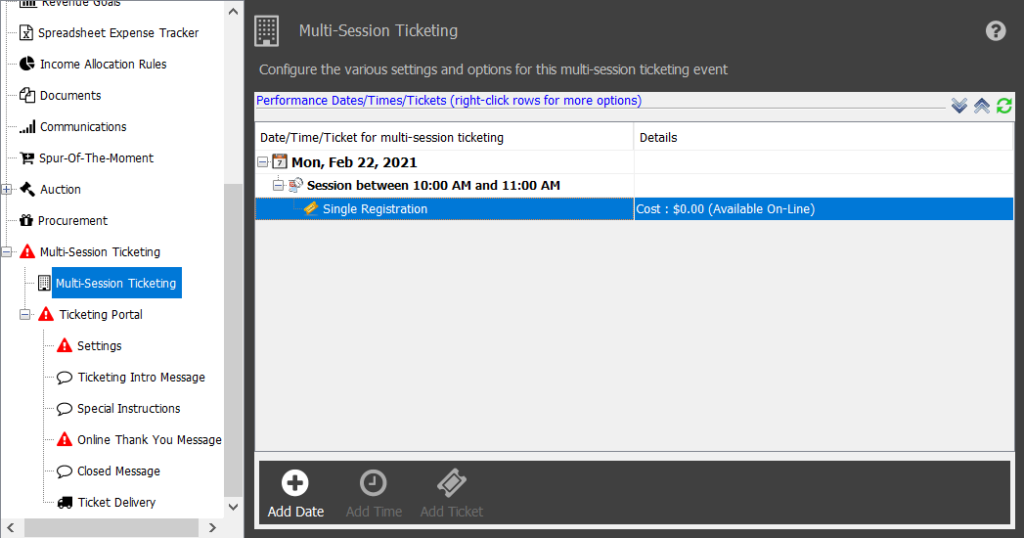
Select Add Ticket to open the ticket configuration. Ticket configuration is identical to the standard options in Ticketing & Seating.
Set the ticket to show online.

Now, the configured ticket will appear underneath the time and date.
From here you can finish mapping out the various dates, times and tickets for the rest of your event.
Copying & Pasting
Instead of having to configure a time and ticket for every date, you can right click to copy and then paste. You must configure all dates by clicking the Add Date button.
Important to note:
When copying a time, you will also copy the tickets that were configured underneath it. This saves you from having to go back and copy the tickets as well.
If your ticket types vary depending on the different date/time than the ones underneath the original configuration, you will have to edit the copied ticket or delete and create a new one.
You can also configure all the dates and times first, copying & pasting the times as needed without tickets underneath. Then, you can go back and create your tickets and copy & paste them underneath the times as fit.
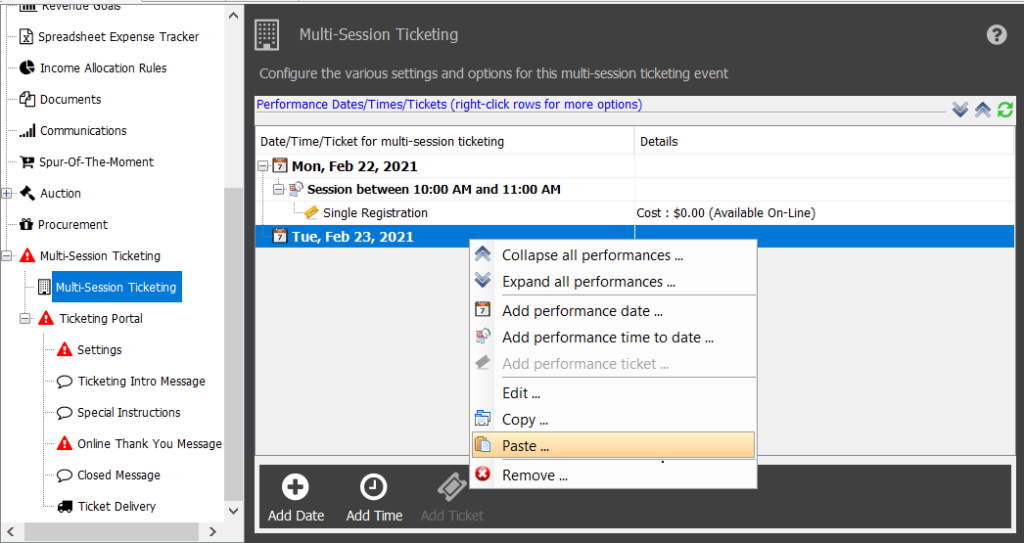
To copy a time, select it and right click. From the options, select Copy
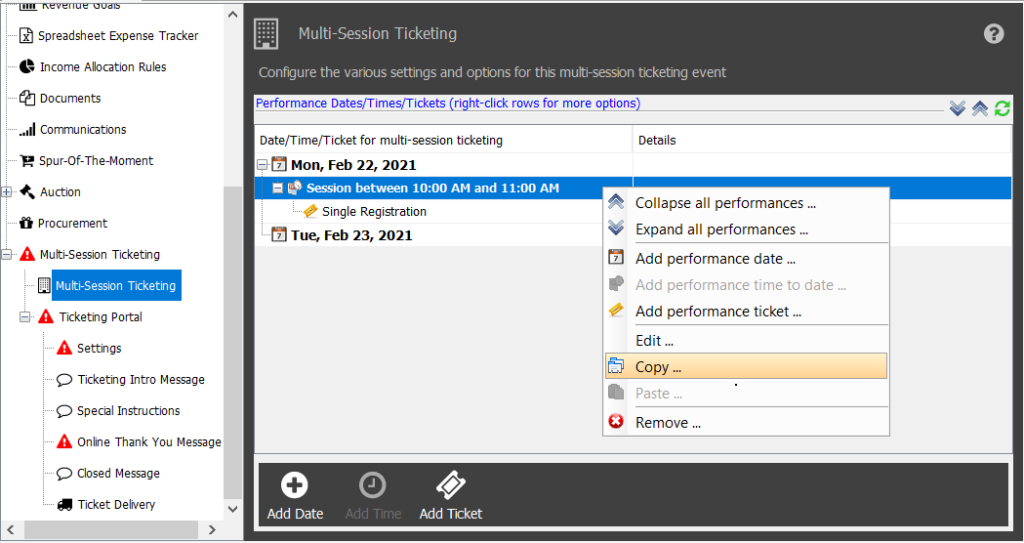
Next, select the date in which you want to paste the time session. Right click the new date and select Paste from the options.
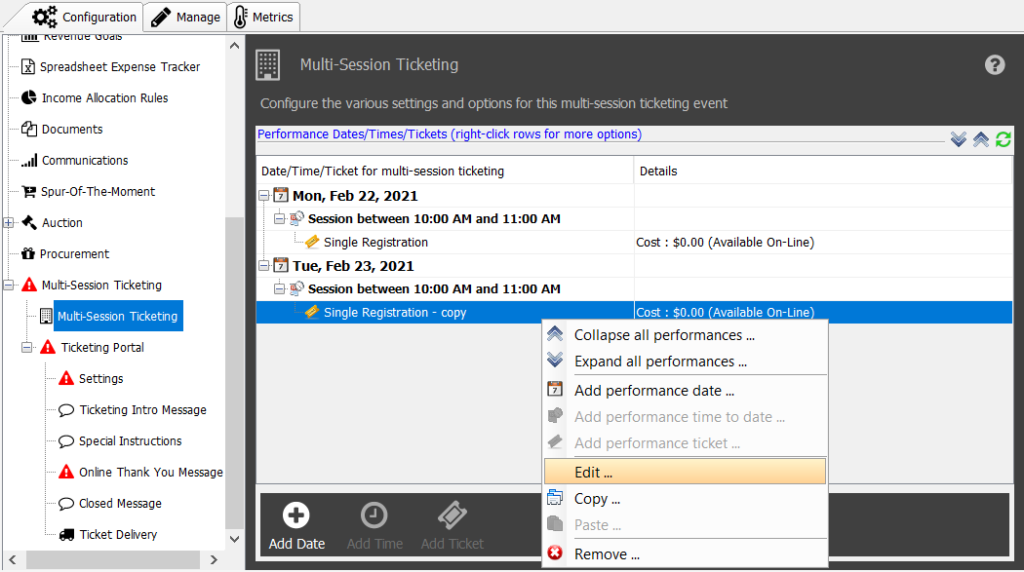
Since the time has a ticket attached to it, the ticket will also copy to the new date.
You’ll notice that the new copied ticket notes it as a ‘copy’ to help you organize and know which ticket was pasted. This will appear on the ticketing portal unless you edit and delete it from the name of the ticket.
To edit the ticket, right click on it and select Edit to open the ticket configuration again. Delete the copy language from the ticket and select Save.
If your times differ across various dates, but your tickets are the same, you’ll first have to configure the date and times. Then you can go back and copy & paste all of the appropriate tickets, using the same instructions above, only selecting the ticket instead of the time.
Ticketing Portal
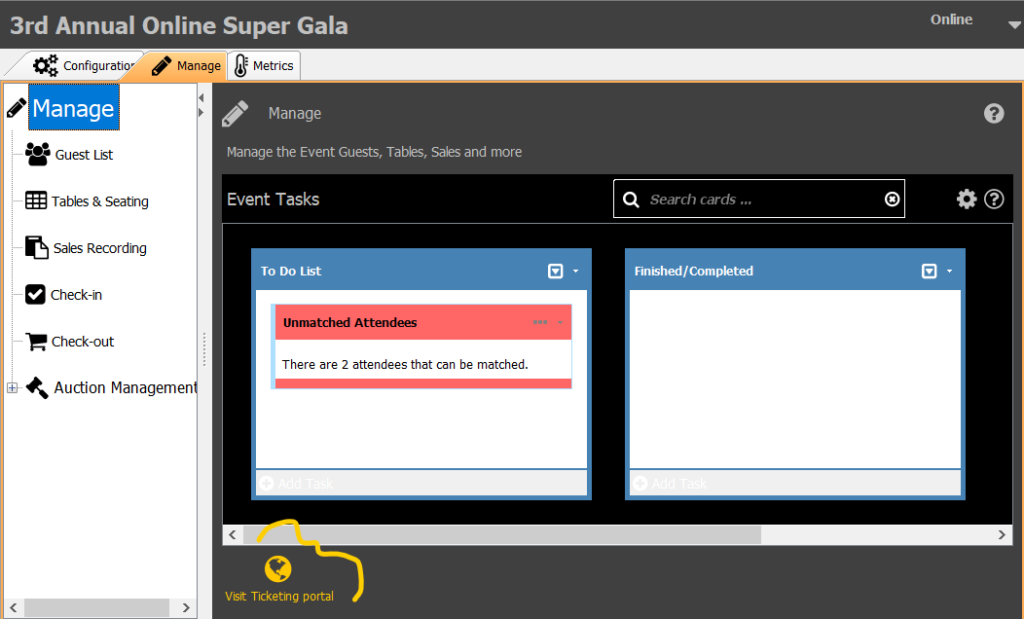
To view your configured Multi-Session ticketing, navigate to the Manage tab within the event, and from the bottom bar, select Visit Ticketing portal.
You’ll land on the traditional online ticketing portal. Click View Available Tickets to see the structure of Multi-Session ticketing.
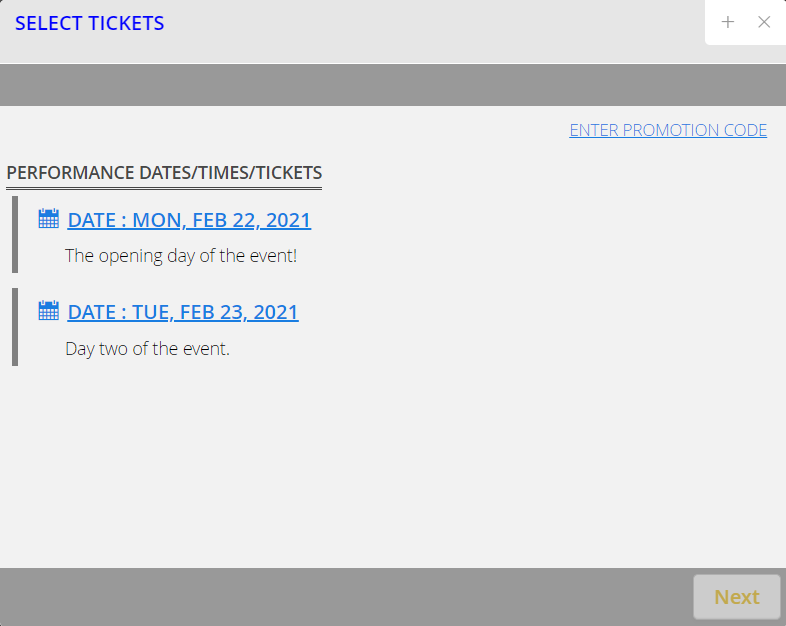
Attendees/donors/registrants will first be able to see the Dates and optional descriptions (if added.) To view the various time sessions and tickets within each date, they’ll need to select to the date, opening the options.
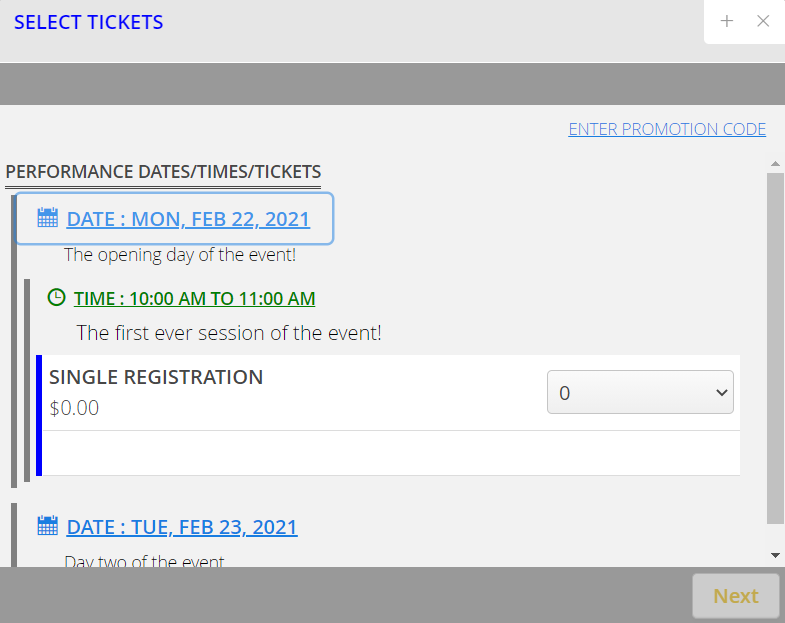
From there, they’ll be able to purchase the appropriate amount of tickets for whatever time sessions and complete the registration.