Manually Registering an Event Guest
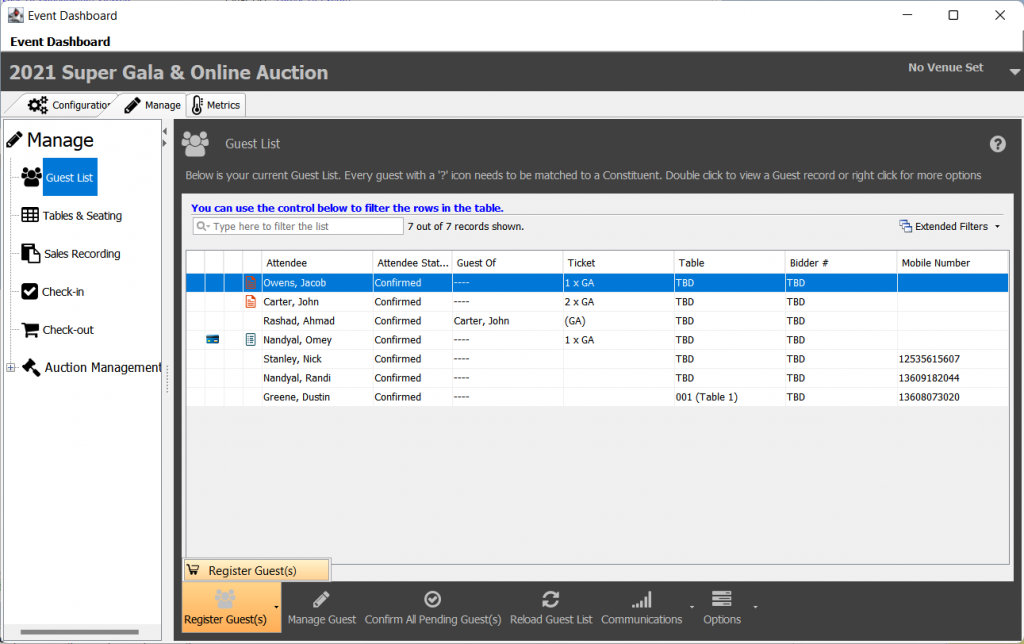
If you need to register a guest manually or have sold tickets at the door and need to add attendees to your Guest List, you can do so by selecting Register Guest and Register Guest.

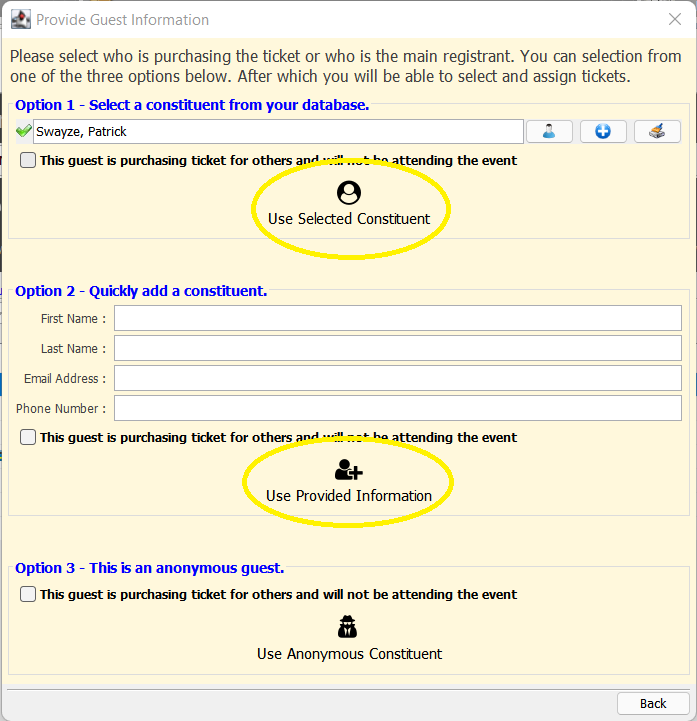
You will then be prompted to select an existing constituent from your database or quickly add a new constituent with provided information, including First Name, Last Name, Email, and Phone Number. If using an existing constituent (Option 1), you can use the search bar to locate the constituent, and then select Use Selected Constituent. If you are instead electing to quickly add a constituent (Option 2), you will select Use Provided Information to progress.

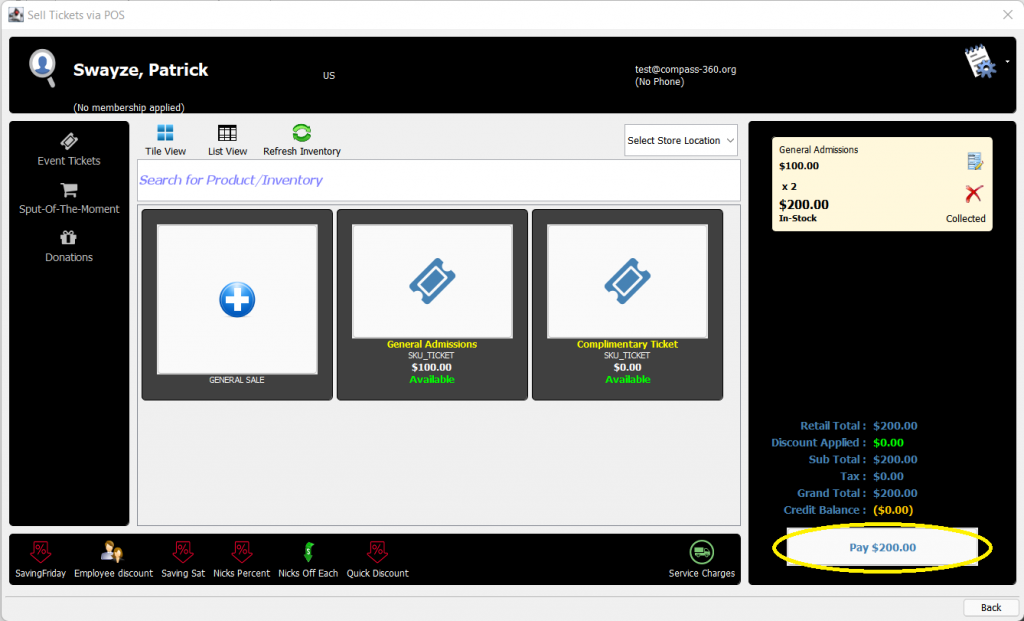
This will open the Point of Sale terminal, where you can select the appropriate ticket type and set the quantity to sell.

After setting the ticket type and quantity, select Pay $___.__ to record payment for the sale.

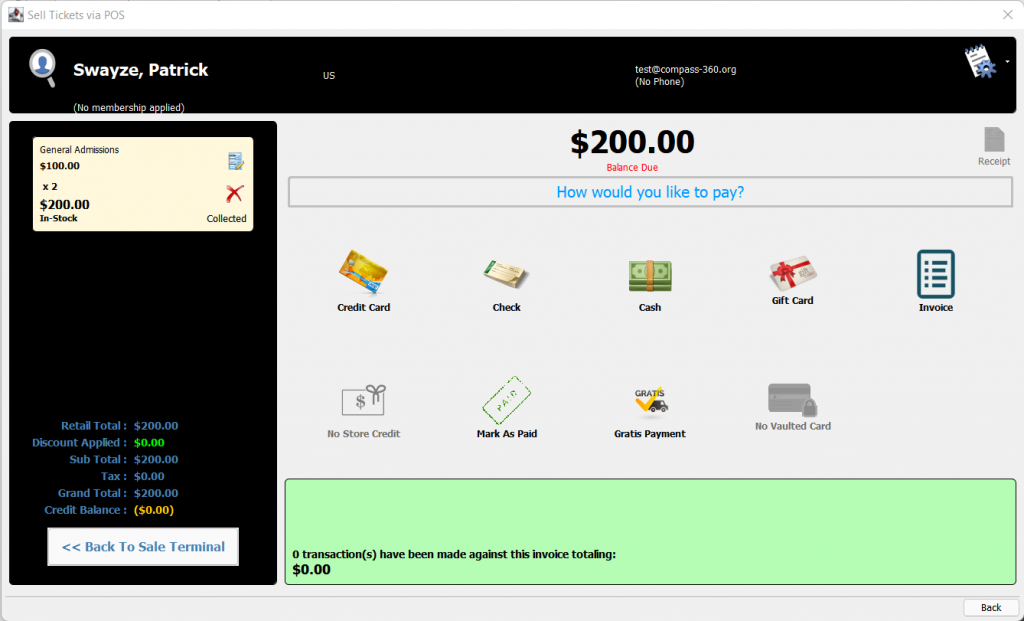
Select the appropriate payment method and fill in the details to record the payment.

After the payment has been processed, the invoice will be launched. You can close this window or Email Receipt if you have an Event Receipt Email set in the Communications menu of your event.
After you complete registration, the Manage Event Guest menu will be launched, of which you can find information on in this Help Doc.